


Section 0. Background Information:
There are situations out there where you require a boot-able USB thumb drive.
This SoftSolution will guide you through the simple steps in making just about any USB thumb drive into a boot-able Windows 7 installer.
Section 1. Required Materials:
You will require the following materials;
1. A 4GB or larger USB thumb drive.
2. Latest version of YUMI. (Can be downloaded from here) Link Here.
3. Windows install media. (Should be in ISO format) Link Here.
4. Computer that requires Windows to be installed!
1. A 4GB or larger USB thumb drive.
2. Latest version of YUMI. (Can be downloaded from here) Link Here.
3. Windows install media. (Should be in ISO format) Link Here.
4. Computer that requires Windows to be installed!
(With or without DVD-ROM).


Section 2. How To Make Windows 7 Bootable USB:
- Instructions:
- Once you have collected all the required materials complete the following steps to make your USB thumb drive boot-able.
- Plug in your USB Thumb drive. (Make sure you remove everything important from the USB Thumb drive because we will be formatting it.)

- Instructions:
- Open YUMI, if you are doing this on a Windows Vista or higher computer you will be prompted for Administrator Access.
- You will be greeted by the first image. Click I Agree

- Instructions:
- After you Click I Agree select your USB thumb drive in the drop down menu.

- Instructions:
- After you Click I Agree select your USB thumb drive in the drop down menu.

- Instructions:
- Check off Format X:\ Drive.

- Instructions:
- Select Windows 7 Installer towards the bottom of the distribution list.

- Instructions:
- Browse to your ISO of the Windows Install Media.
- Choose Xp .ISO Image.
- Instructions:
- Click Create.

- Instructions:
- Click Yes.

- Instructions:
- Wait for the format and copy of installation media completes.

- Instructions:
- Click Next.

- Instructions:
- Click No.

- Instructions:
- Click Finish.
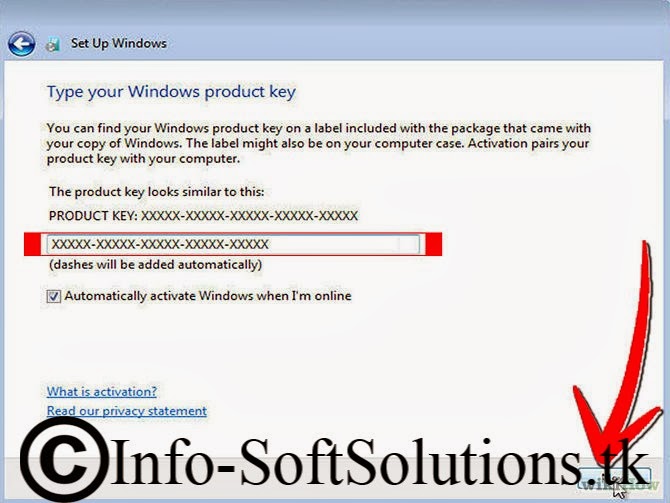
Section 3. How To Install XP:
- Instructions:
- Don't forget to set your boot priority in your BIOS. On older systems, the BIOS is set to read Floppy, HDD, and THEN CD-ROM. You will need to set your boot priority to load the USB before Floppy and HDD. Article Here
- The setup generally takes 15 to 40 minutes depending on the speed of your USB. It's best to stay near, because throughout the installation, it will ask questions such as the Time and Network settings.
- If you encounter any difficulties installing, Windows Setup will give you technical information about the error, which can help determine its cause. Check the troubleshooter on Microsoft's website for assistance with common installation problems.
Requirements To Install XP
- Instructions:
- 1 GHz CPU with 32 bits or 64 bits.
- 1 GB Ram for 32 bits or 2 GB Ram for 64 bits.
- 16 GB empty space hard disk for 32 bits or 20 GB for 64 bits.
- Super VGA 800x600 Display Adapter
- Bootable USB.
Steps To Install Windows 7


Warnings!
After Windows 7 installation, if you cannot connect to Internet, please check these troubleshooting:- Make sure Internet cable and the modem are working properly, the connection points are not getting loose.
- Check the network drive (normally Windows 7 automatically detects drivers).
- Set up Windows IP if the modem doesn’t analyze it automatically (searching on Internet for how to set it up)
- Some devices might not work such as: USB 3.0, Webcam, Bluetooth etc. then you should check the driver ok to see if it has been installed properly.


0 comments:
Post a Comment